There are five steps that need to be done to add a new user to a workstation that already has FPU Receive installed.
- Setup shortcuts on the desktop
- Install the FPU menu
- Add new username(s)
- Make the location Trusted
- Setup Word for rejections
1. Setup Shortcuts on the desktop
Make 4 shortcuts to the user’s desktop.
C:\FPU Receive\FPU Receive.accde – path to start program.
G:\Custody\…\Attachments\In – path to inbound rejection docs folder.
G:\Custody\…\Attachments\Out – path to outbound rejection docs folder.
G:\Custody\…\Attachments\Publication – path to publication rejection docs folder.
2. Install the FPU menu
Select File from the Access menu.
Select the Options menu item.
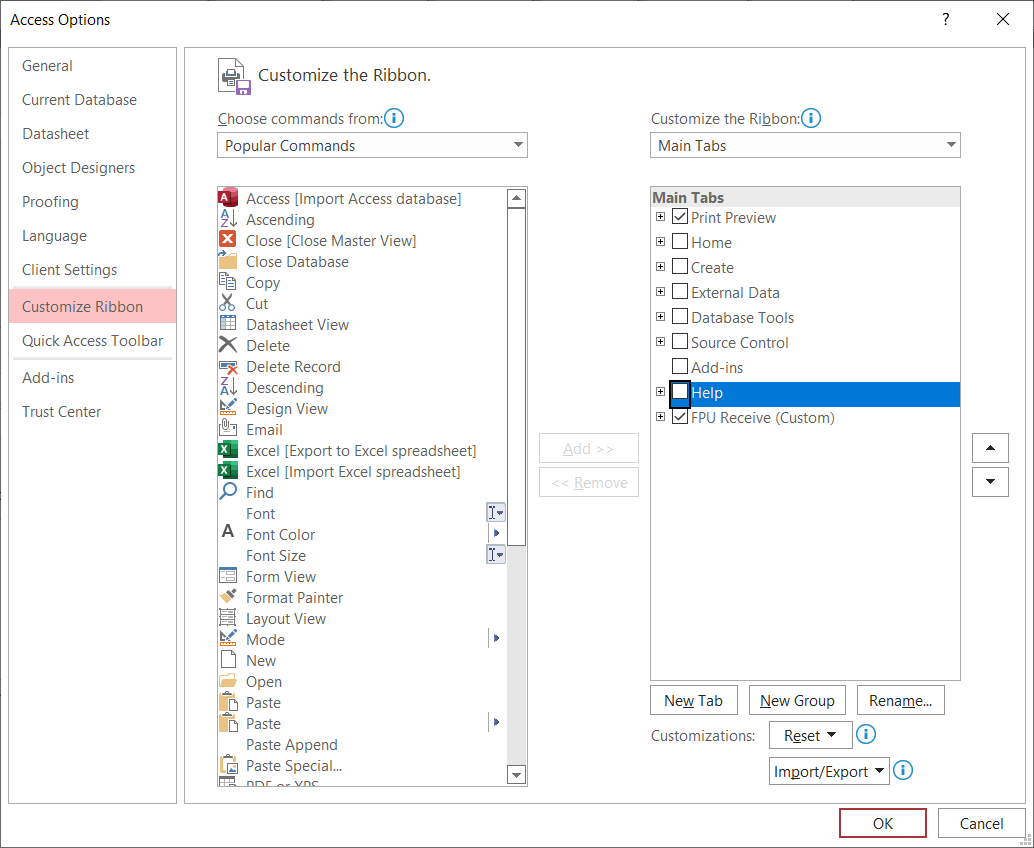
Select “Customize the Ribbon”
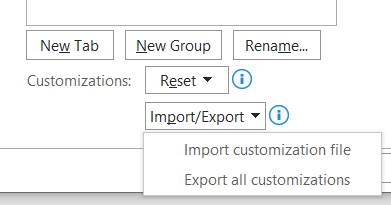
Select the “Import/Export” drop down in the bottom right corner.
Select “Import customization file”.
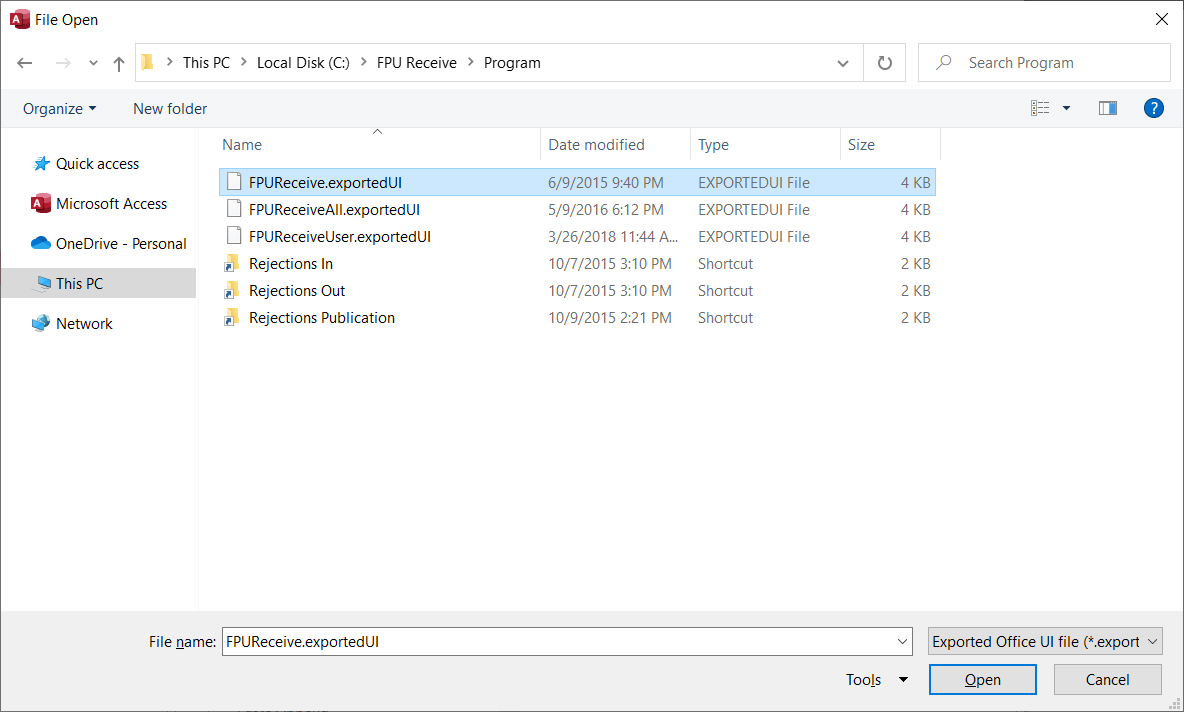
Select “C:\FPU Receive\Program\FPUReceiveUser.exportedUI” file.
Click Open.
Select “Yes”.
Ensure all Main Tabs are unchecked except for “Print Preview” and “FPU Receive”.
Select OK.
And another OK.
You will not need to close and reopen the program to see the menu take effect.
3. Add new username(s)
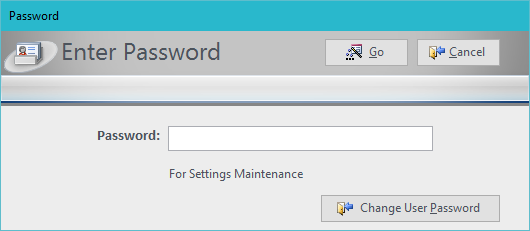
From the FPU menu select Settings
The Password is “SetS”
Click the User button in the top right.
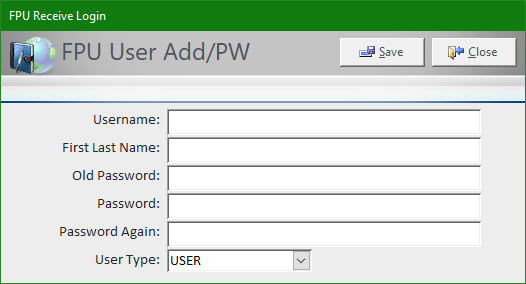
To enter a New User fill in:
- Username
- First Last Name
- Password
- Password Again
- Set User Type to USER
4. Make the location trusted
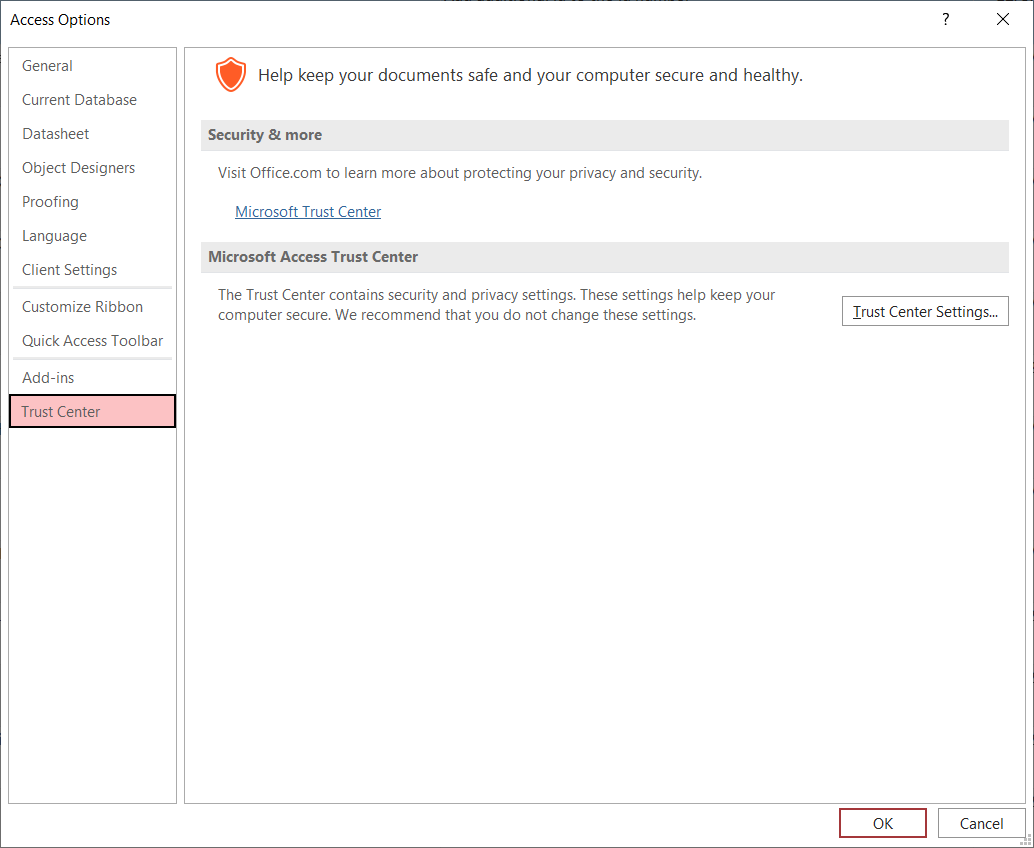
Open Access and go to the file tab and Options. 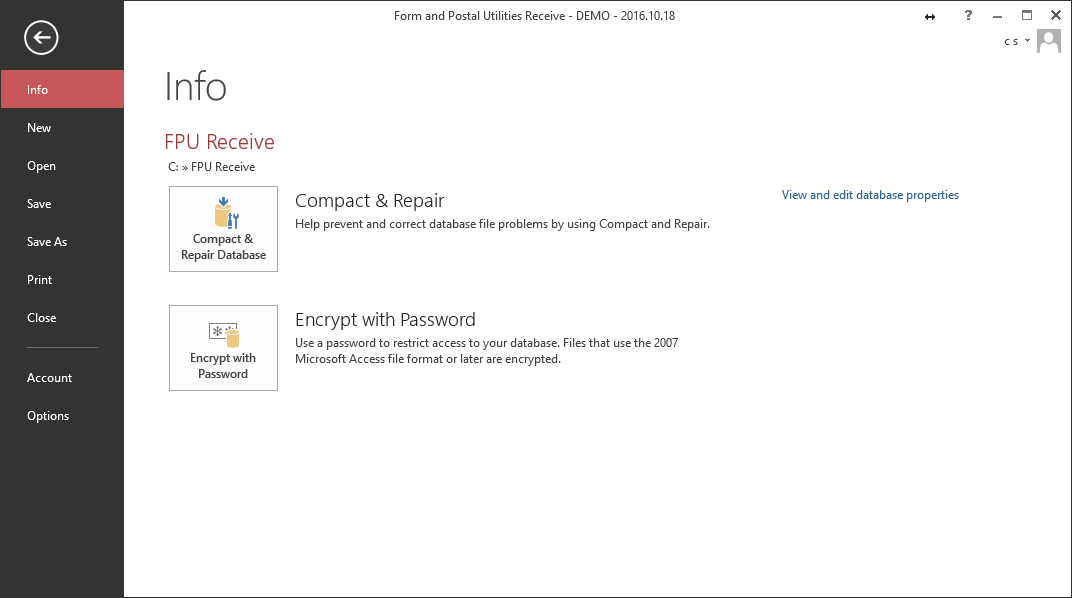
In Options go to the Trust Center
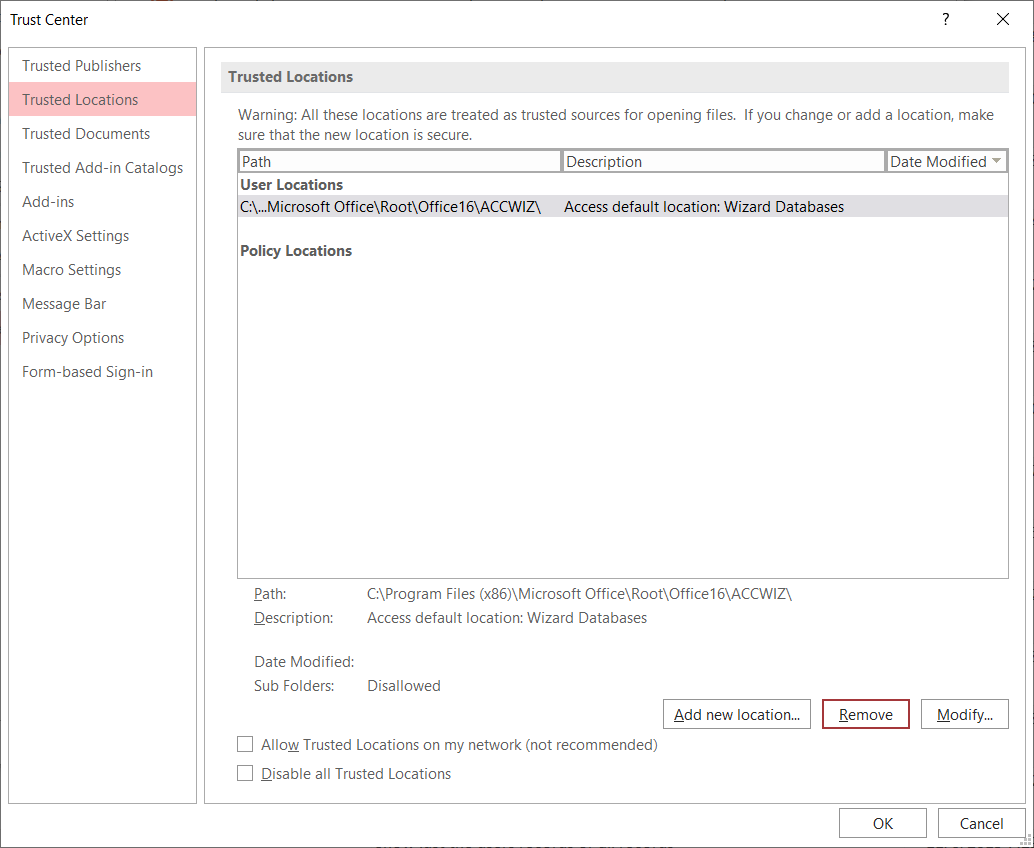
Open the Trust Center Settings
Select Add new location
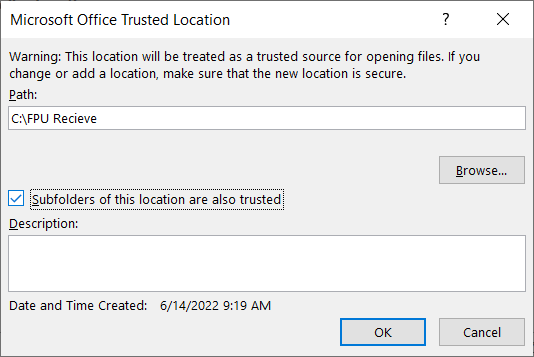
Type C:\FPU Recieve into the Path field and check the “Subfolder of this location are also trusted” box, then click OK.
5. Setup Word for rejections
Open a blank Word or while any document is open.
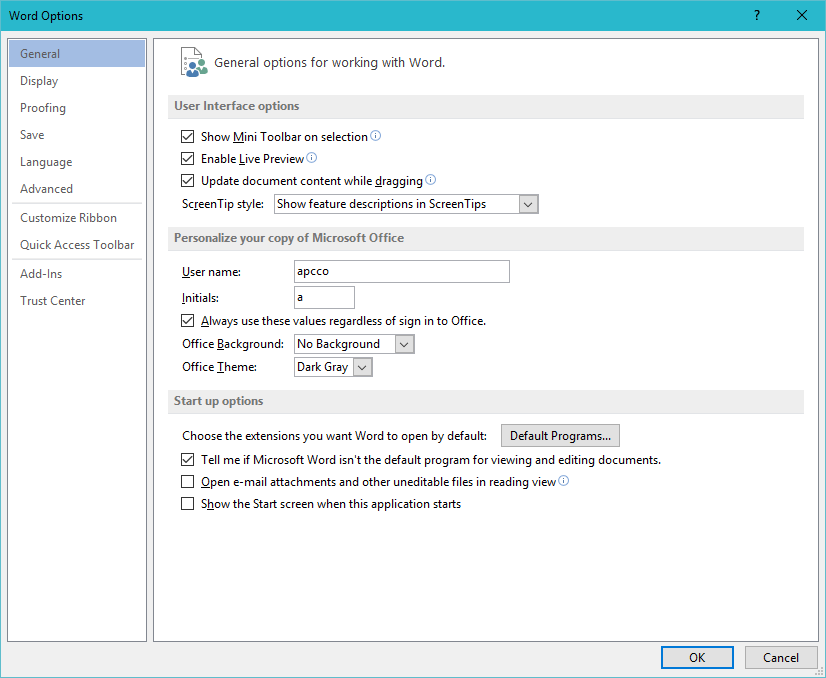
From the Word menu File – Options – General.
Start up options:
Uncheck “Open e-mail attachments and other uneditable files in reading view”.
Uncheck And “Show the Start screen when this application starts”.
Select OK


